Complete Guide to Genie User Setup and Management
User Management in Genie helps maintain control over who can access the application and what actions they can perform. It allows for centralized management of user accounts, ensuring that access is secure, organized, and aligned with the organization’s license configuration.
Administrators play a key role in this process. They have complete control over the Genie environment, including the ability to add, edit, or remove users, assign roles, manage repositories, and oversee license usage. Administrators ensure that only authorized users have access to relevant features and data within the system.
Currently, Genie supports two types of users:
- Admin Users – Have full access to all application features and configurations.
- Normal Users – Have limited access based on the permissions defined by the administrator and the active license.
Managing Users
Adding a User
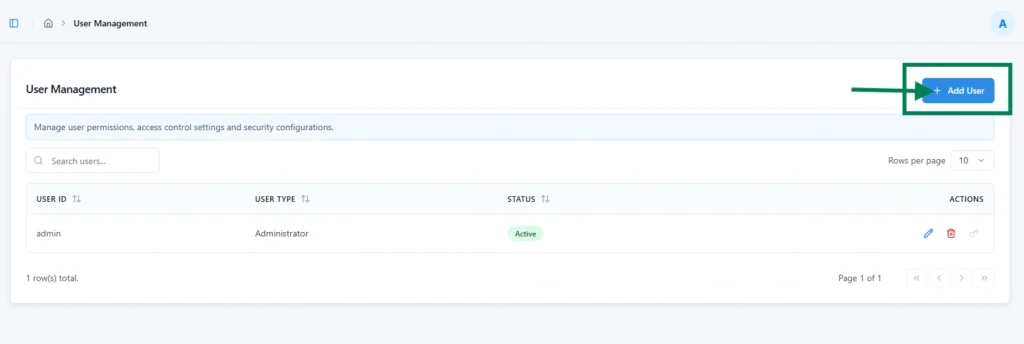
To add a new user in Genie, follow these steps:
1.Navigate to Configuration → User Management → Add User.
2. Enter the required details:
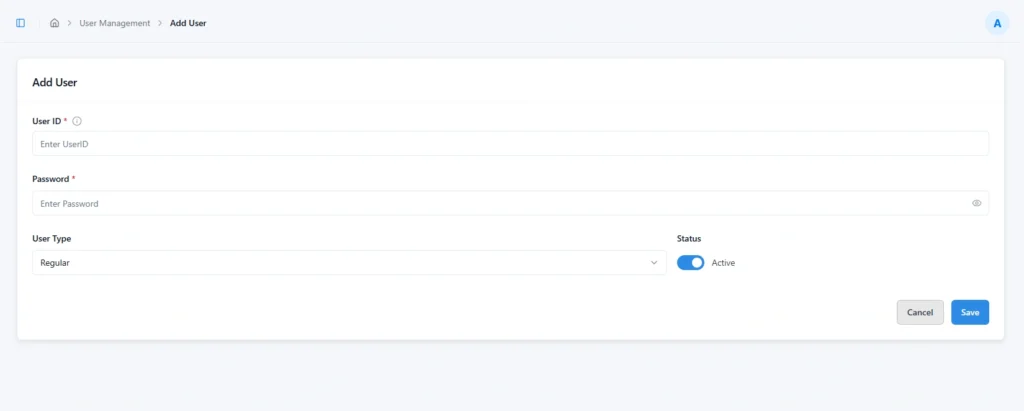
- User ID: A unique identifier for the user.
- Password: The initial password for login.
- User Type: Select either Admin or Regular based on the level of access required.
- Status: Set the user’s account status as Active or Inactive.
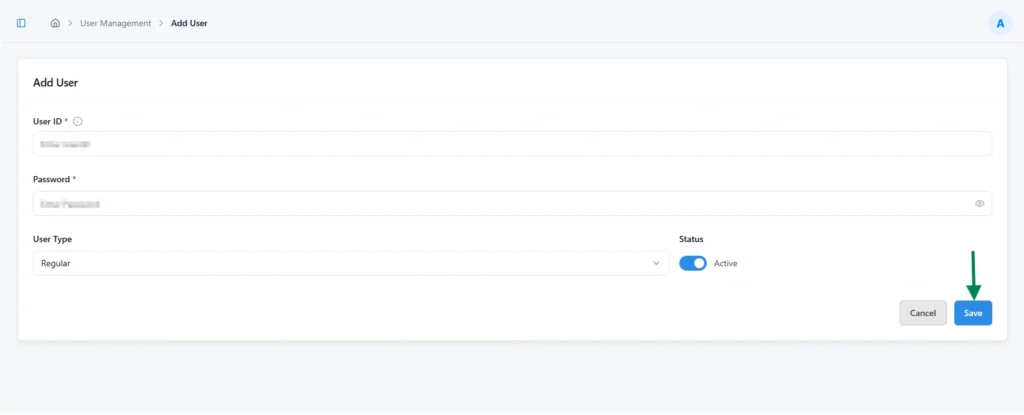
3. Click Save to create the user and grant access to Genie.
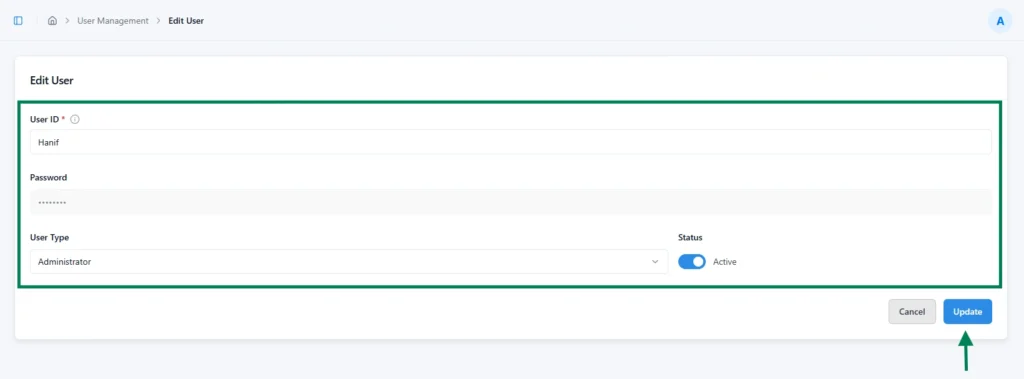
Updating a User
An admin can update an existing user’s User ID, User Type, and Status from the User Management page.
User ID: The User ID can be modified by selecting the Edit button.
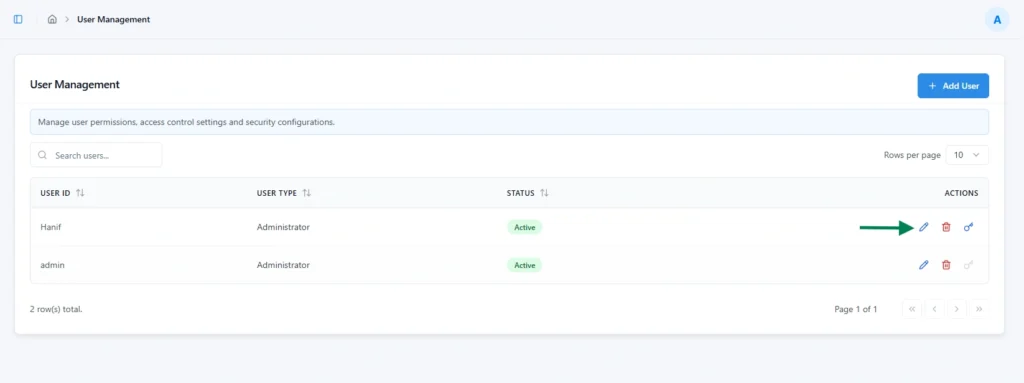
After making the required changes in the User ID field, select the Update button to save the changes
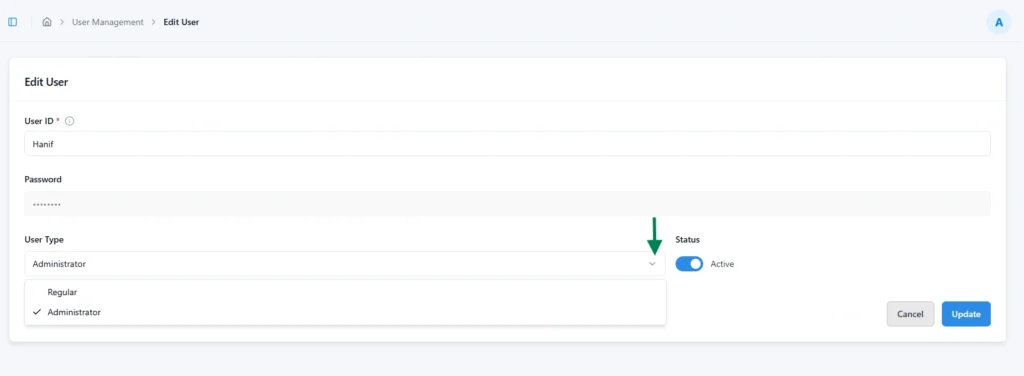
User Type:
The User Type can be changed using the User Type dropdown. Once the new type is selected, click the Update button to apply for the change.
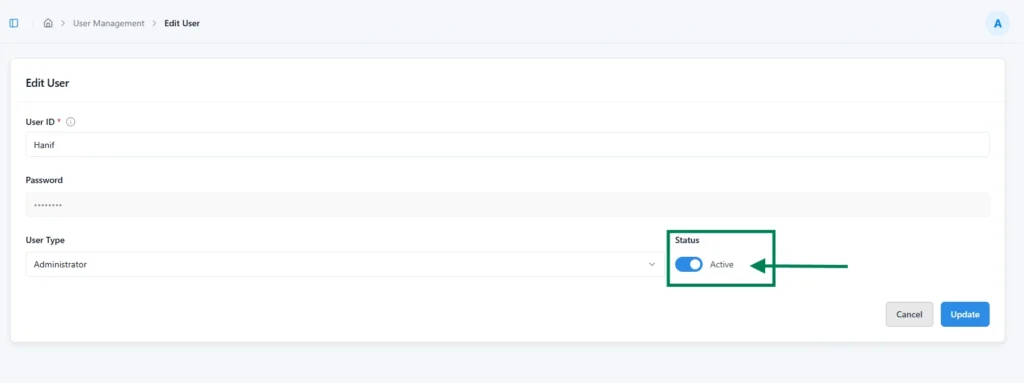
Status:
The user’s Status can be modified using the Status toggle button
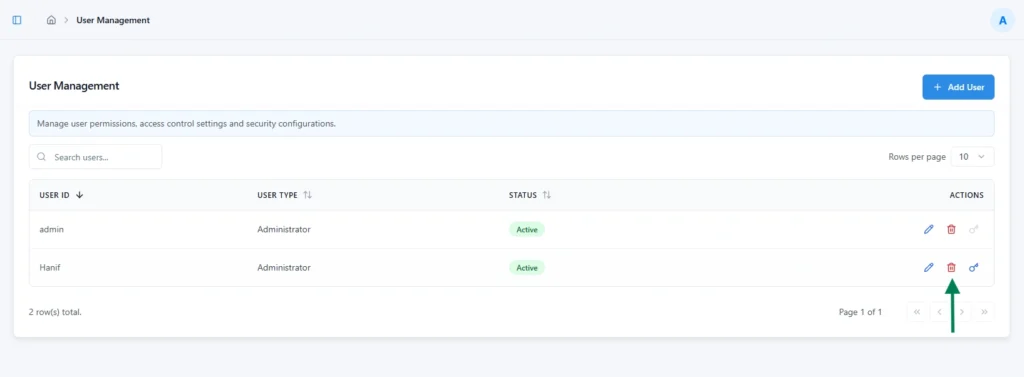
Deleting a User
Only users with admin privileges can delete existing users from the User Management page. A delete icon is displayed at the right end of each row for users who can be deleted.
Upon clicking the delete button, a confirmation pop-up appears. To proceed with the deletion, select “Yes, Delete it”. To cancel the action, select the “Cancel” button.
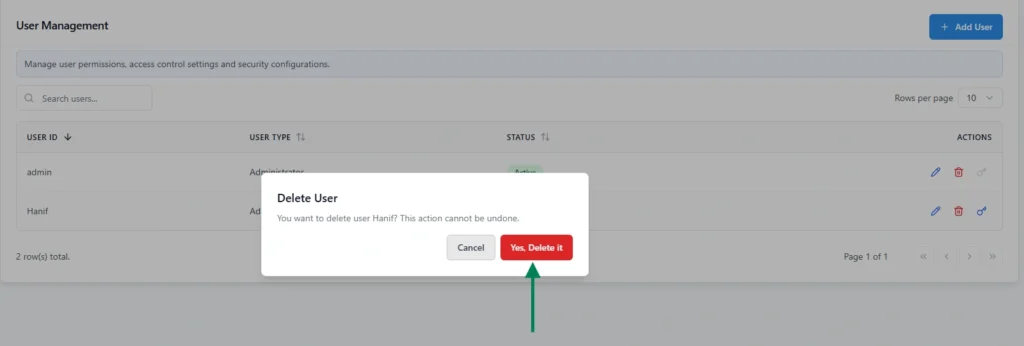
Once the user is deleted, the confirmation alert will appear on the top right.

Password Reset
The Password Reset feature in Genie allows both administrators and users to securely reset passwords when required. This ensures account security and uninterrupted access to the application.
There are two types of passwords reset options:
Admin-Level Reset
- Administrators can reset passwords for any user directly from the Admin Portal
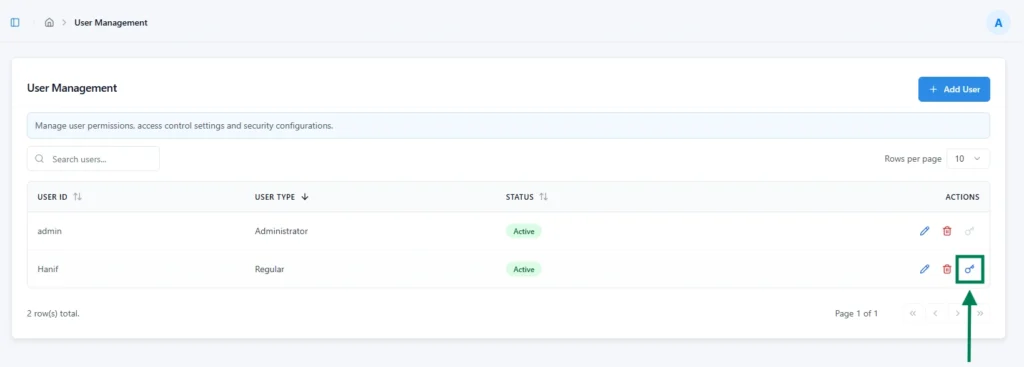
- This option is useful when a user is unable to log in or has forgotten their password.
- Once reset, the administrator can share the new temporary password with the user, who will be prompted to update it after logging in.
User-Level Reset
- Users can reset their own passwords from the User Settings section after logging in.

- This option allows users to update their password at any time for security or personal preference without requiring administrator assistance.
User Management and License Types
The User Management interface in Genie adapts based on the type of license applied to the system. Depending on whether the license is Limited or Unlimited, certain details and indicators are displayed differently.
Limited License
When operating under a Limited License, the User Management page displays additional information about license usage to help administrators track user allocation. The following details are shown:
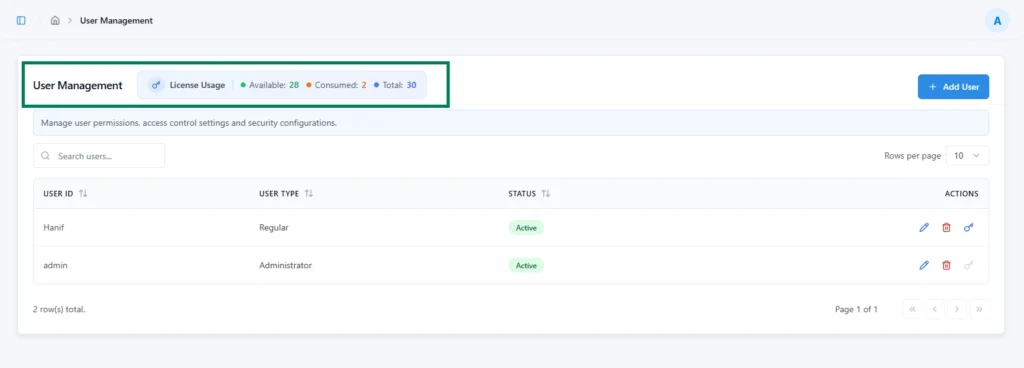
- Available: Number of user slots still available for new users.
- Consumed: Number of user slots currently in use.
- Total: Total number of user slots included in the license.
This information helps administrators manage user access efficiently within the licensed capacity.
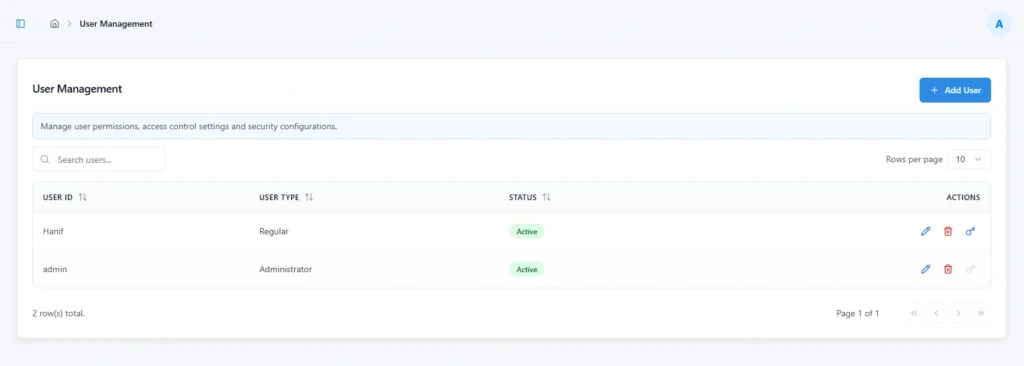
Unlimited License
When an Unlimited License is active, the license usage section is not displayed. All other user management features, such as adding users, assigning roles, and resetting passwords, remain the same.
Subscribe to our Newsletter
Get product updates, feature tips, and integration insights in your inbox.


