Complete Guide to Install and Configure Genie
Overview
The Genie Installer sets up the Genie software suite. This guide outlines the steps for a fresh installation.
Prerequisites
Before proceeding with the installation, make sure the following components are installed and correctly configured:
- Git
Download from: Git Downloads
- Visual Studio Installer
Required for installing C++ dependencies. Download from: Visual Studio Community
- PostgreSQL (Version 16 to 17)
Download from: PostgreSQL Downloads
Verification Steps:
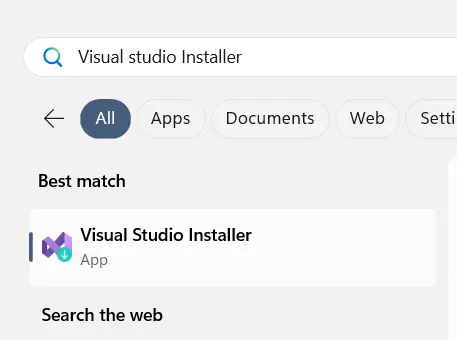
- Use the Windows search function to check if Git is installed. If it isn’t, download and install it.
- Similarly, search for the Visual Studio Installer (Community). If it’s not available, download and install it.
Visual Studio Setup:
- Open the Visual Studio Installer.
- Select Desktop development with C++.
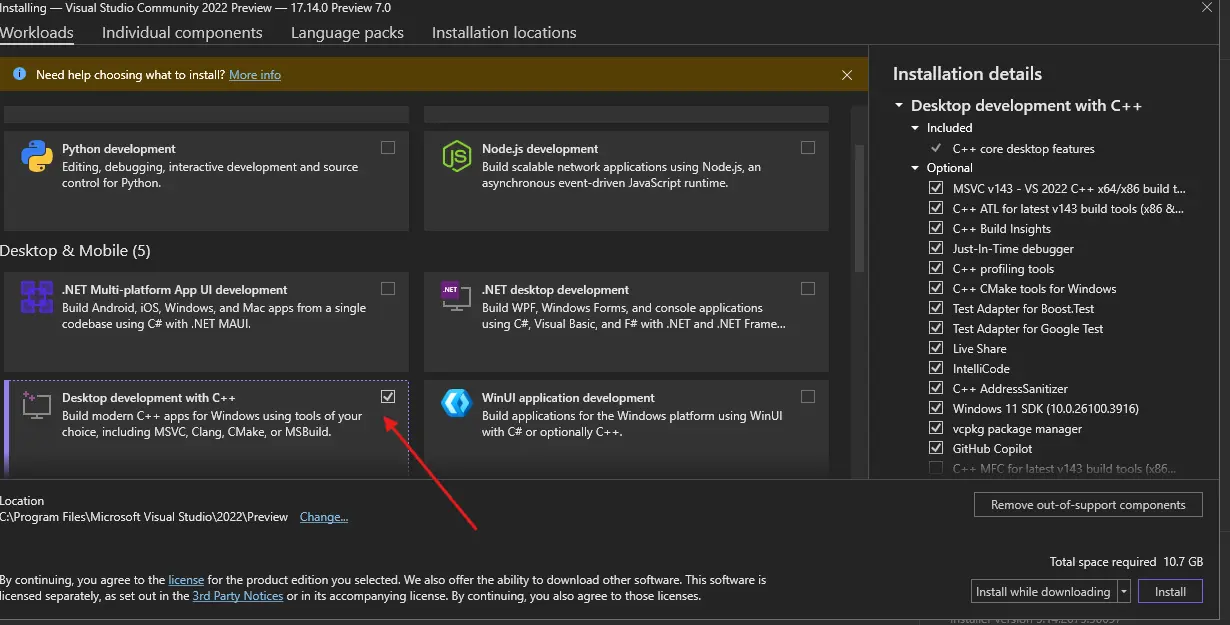
- Make sure that the required Visual C++ components are selected and installed.
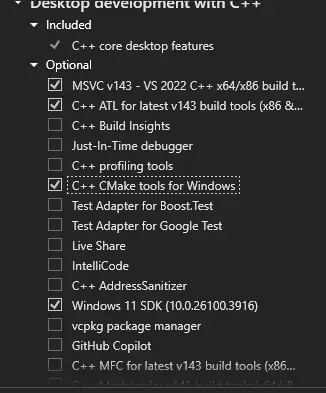
PGVector Configuration:
Follow the instructions to configure PGVector on Windows, available at:
pgvector GitHub Repository
Ensure that C++ support is installed in Visual Studio. Then, run the x64 Native Tools Command Prompt for VS [version] shortcut as an administrator.
The shortcut is located at:
C:(installed drive)ProgramDataMicrosoftWindowsStart MenuProgramsVisual Studio [version]Visual Studio ToolsVC
Alternatively, the shortcut can be located by searching its name in the Windows search bar on the taskbar.
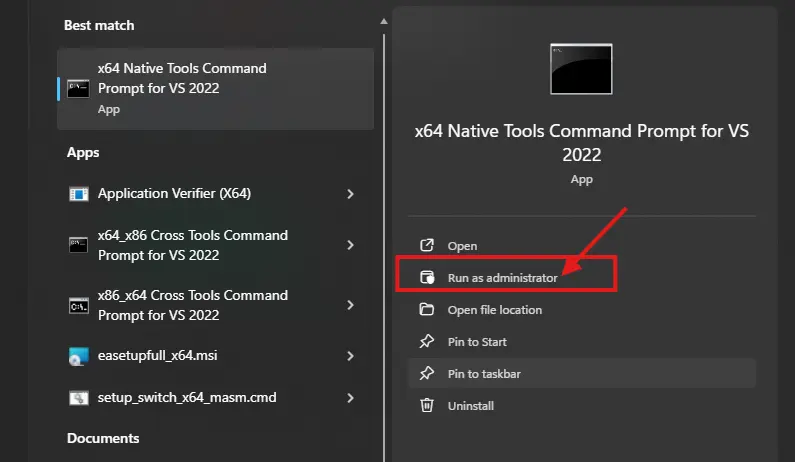
Click on “Run as Administrator”, then proceed with the following steps to configure pgvector, executing each command line by line:
If PostgreSQL version 16 or 17 is installed, update the version number in the command accordingly.
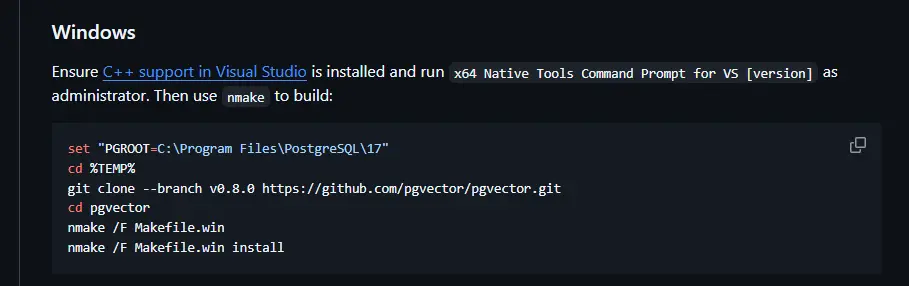
set “PGROOT=C:\Program Files\PostgreSQL\17”
cd %TEMP%
git clone --branch v0.8.1 https://github.com/pgvector/pgvector.git
cd pgvector
nmake /F Makefile.win
nmake /F Makefile.win install
Installation Process
Steps for Fresh Installation:
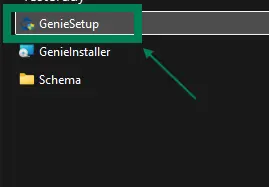
Launch the Installer
At first, Open GenieSetup.exe as shown in the image below
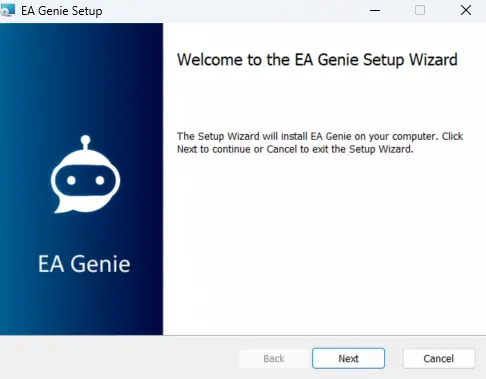
Welcome Screen
A welcome screen will appear with the Genie logo and a “Next” button.
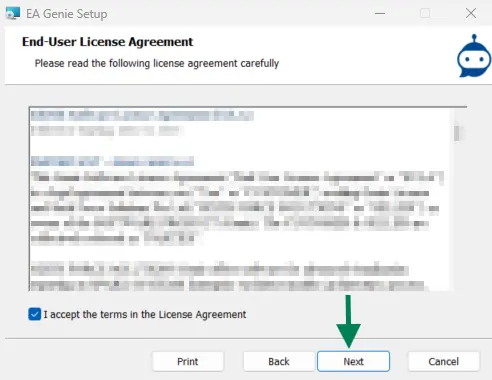
License Agreement:
Review the license agreement.
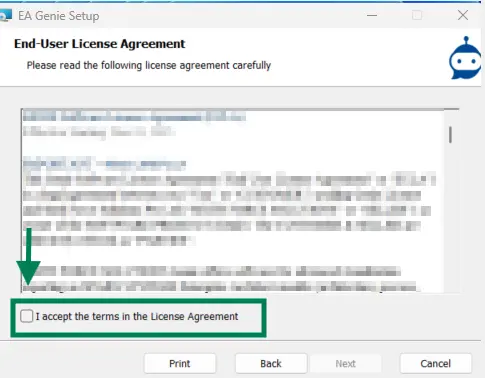
Select the “I Agree” checkbox to enable the “Next” button.
Destination Folder:
- Choose an installation path (default: C:\Program Files\Genie).
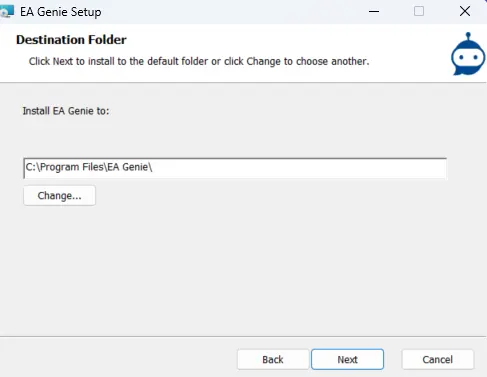
- Click the Change button to select a different folder if needed.
- Click Next to proceed.
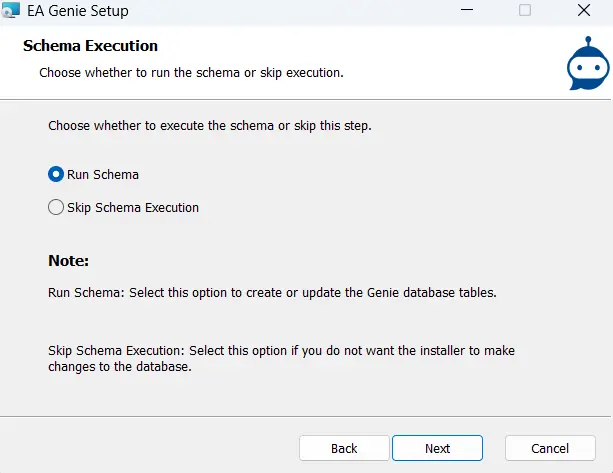
Schema Execution
For a fresh installation, select Run Schema.
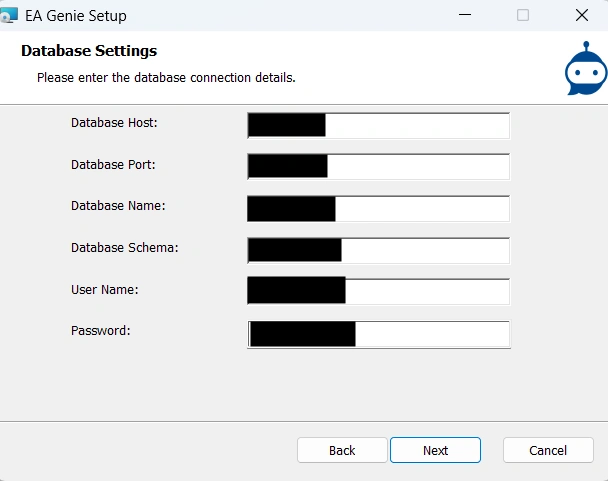
Server Configuration
Enter and validate the following required fields:
- Host
- Port
- User Name
- Password
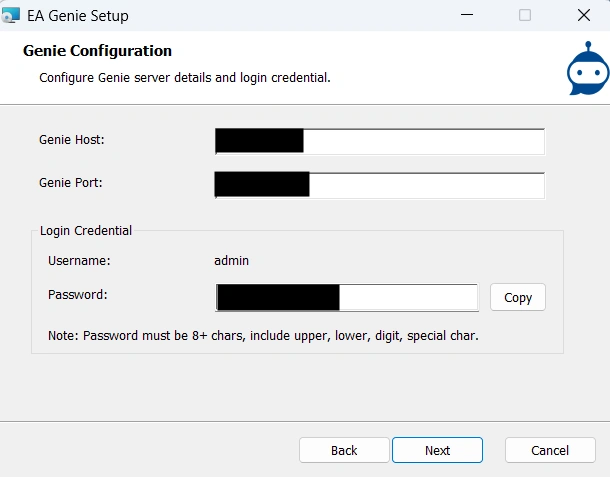
Credentials and connection settings will be validated when the “Next” button is clicked.
Database configuration:
a. Configure Genie and DataSync endpoint details.
Set up a new login password for the default username “admin.” This password will be used when the ‘admin user’ logs into the application for the first time.
The password must meet the following criteria:
- Minimum of 8 characters
- At least one uppercase letter
- At least one lowercase letter
- At least one digit
- At least one special character
Genie host and port details are validated after clicking Next.
Note: It is recommended to save the password securely.
b. Configure GenieSync endpoint details.
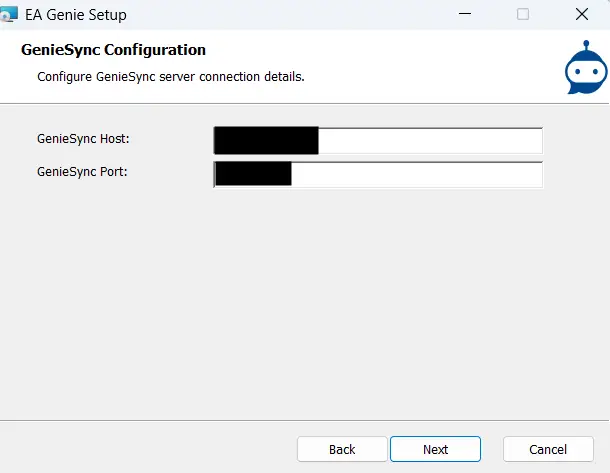
GenieSync and port details are validated after clicking Next.
Review Settings:
- Verify all configuration settings, including Genie and DataSync endpoints.
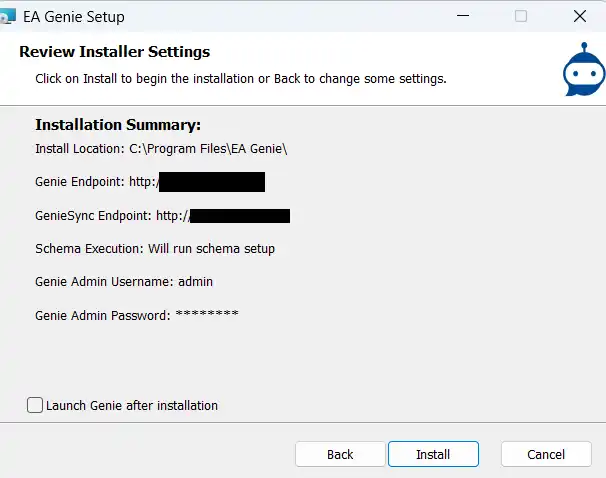
optional: if this check box is enabled, the Genie application will launch once the installation is completed
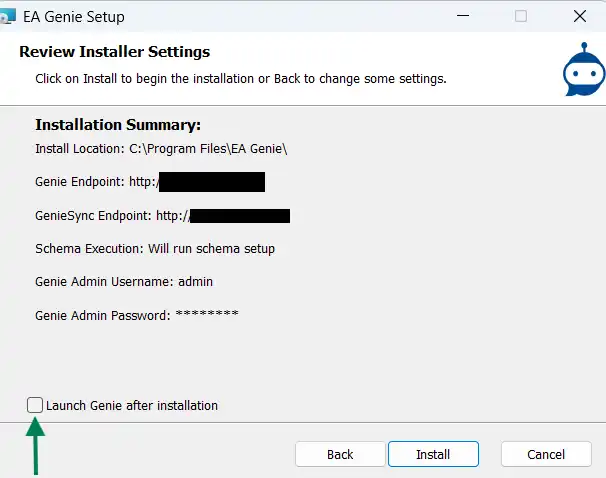
- Click Install to start the installation process.
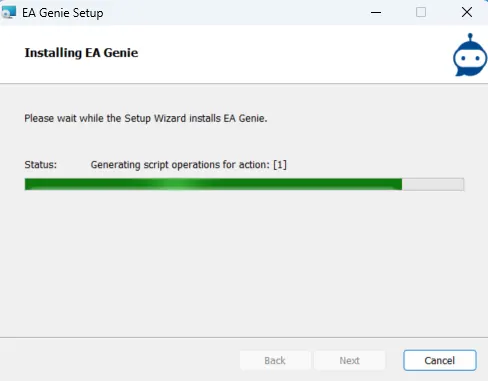
Installation Progress:
- The progress bar will display the installation steps.
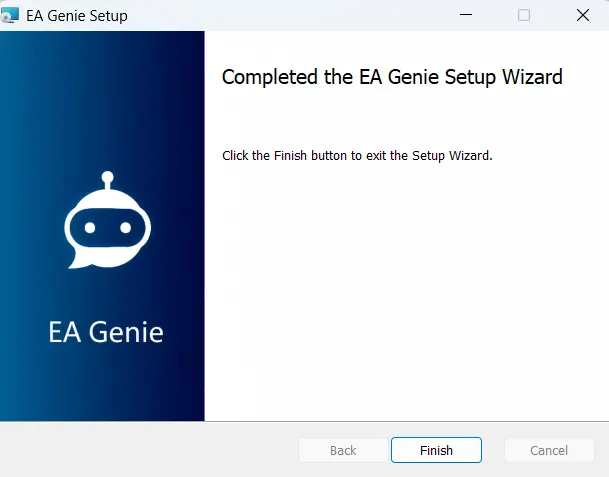
Completion
- After the installation is completed successfully, click Finish to exit the installer.
Subscribe to our Newsletter
Get product updates, feature tips, and integration insights in your inbox.


