How to Navigate and Use Document Explorer
Introduction
The Document Explorer Agent in Kernaro AI allows you to upload and manage documents in various formats. Kernaro AI automatically processes and understands the uploaded data, turning it into a knowledge base that enhances Kernaro AI’s responses with context from your own documents.
Supported File Types
- Word (.docx)
- Excel (.xlsx)
- CSV (.csv)
- Text (.txt)
- PDF (.pdf)
Once at least one valid document is uploaded, the Document Explorer Agent becomes active and available in the Kernaro AI.
By default, Kernaro AI does not use this agent for every user’s query. Instead, Kernaro AI intelligently refers to the uploaded documents only when additional context or information is required to answer a user’s request.
However, when a query is explicitly executed using the Document Explorer Agent within the Kernaro AI chatbot, the request is processed directly on top of this agent first, ensuring that the response is fully based on the content from your uploaded documents.
Uploading Files to the Document Explorer Agent
- Navigate to Configuration → Document Explorer
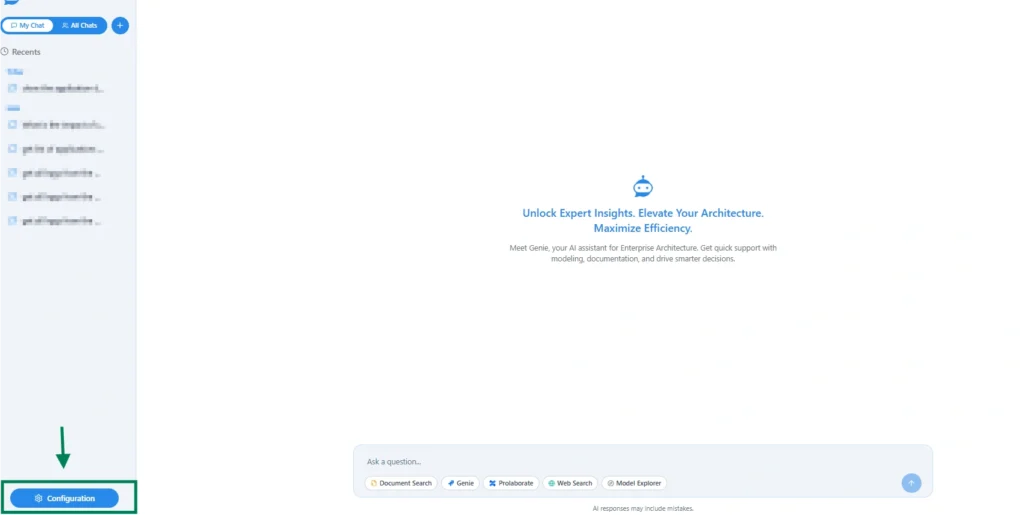
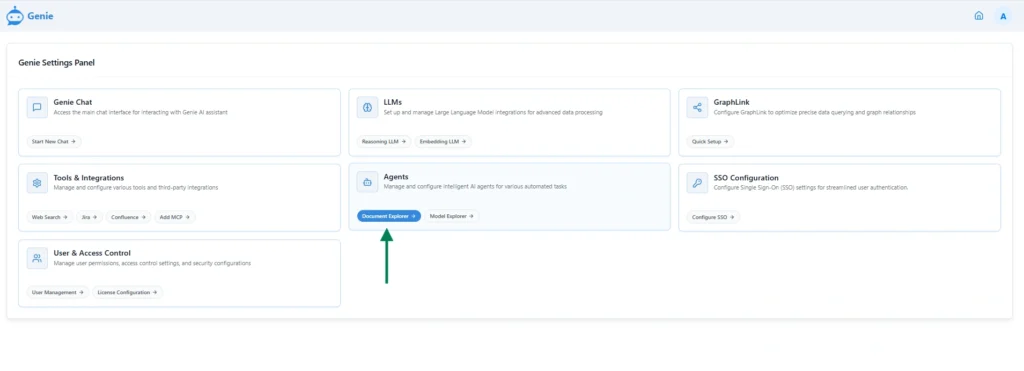
- Select the ‘Document Explorer’ option, as shown in the image below.
- Alternatively, it can be accessed via the side bar, under the Agents -> Document Explorer
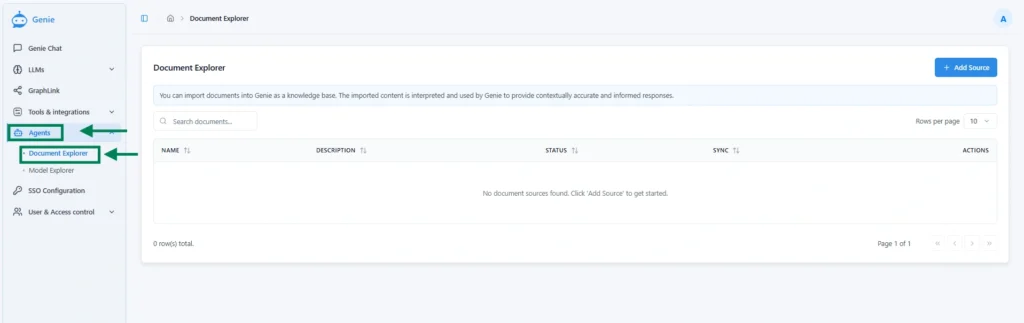
- Once the Document Explorer page appears, click the Add Source button to upload a new document.
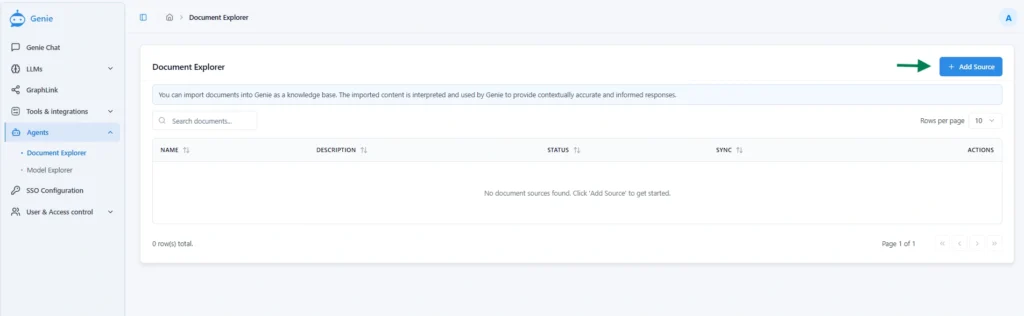
- This opens the Add Source section, where document files can be organized and categorized based on specific requirements.
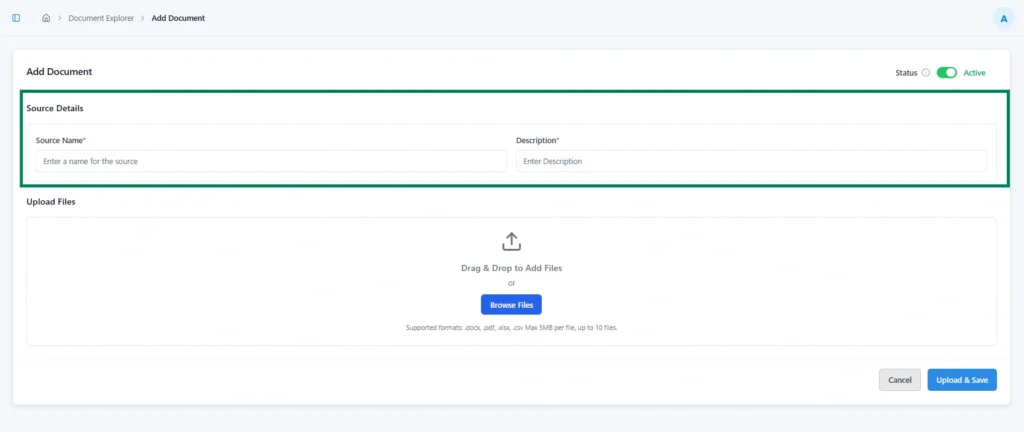
| Property | Definition | Notes / Example |
|---|---|---|
| Source Name | A unique name for the document. | Helps label and reference the uploaded file (e.g., Company_Policy_2025). |
| Description | Add notes or context to the document. | Useful for explaining its purpose or contents. |
| Status | Determines whether the document is active or inactive. | Active → Kernaro AI includes this source when generating responses. In-Active → Kernaro AI ignores this source. |
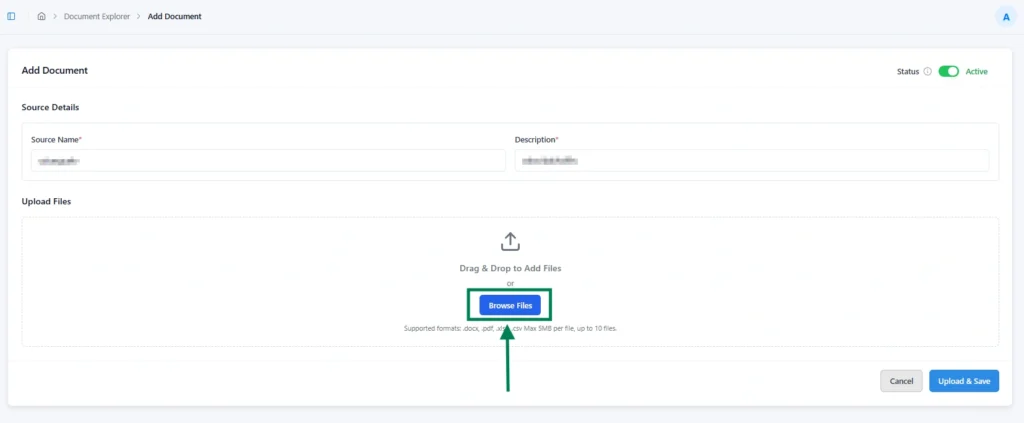
- Next, click the “Browse Files” button, as shown in the image below, to upload file(s).
Browse Files
The Browse Files section is where you can add the required files and group them under a specific name and status for better organization.
- Supported formats: .docx, .pdf, .xlsx, .csv, .txt
- Upload limits:
- File size: Max 5 MB per file
- Number of files: Up to 10
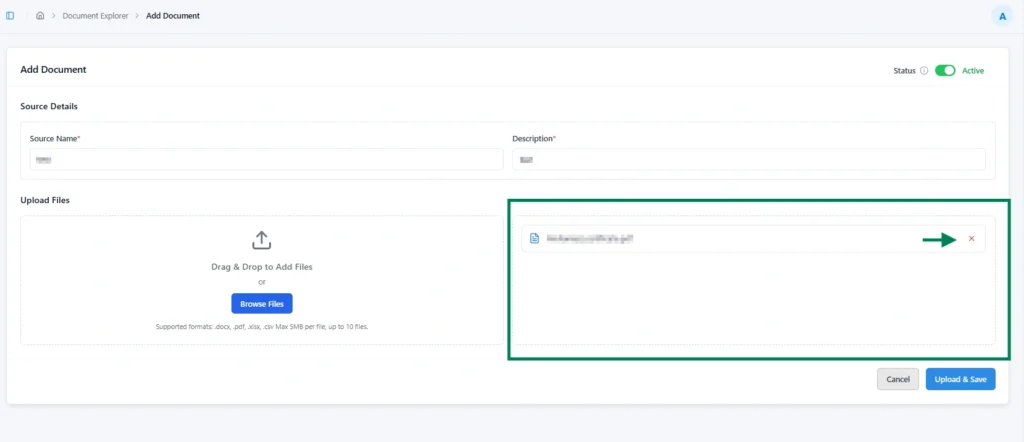
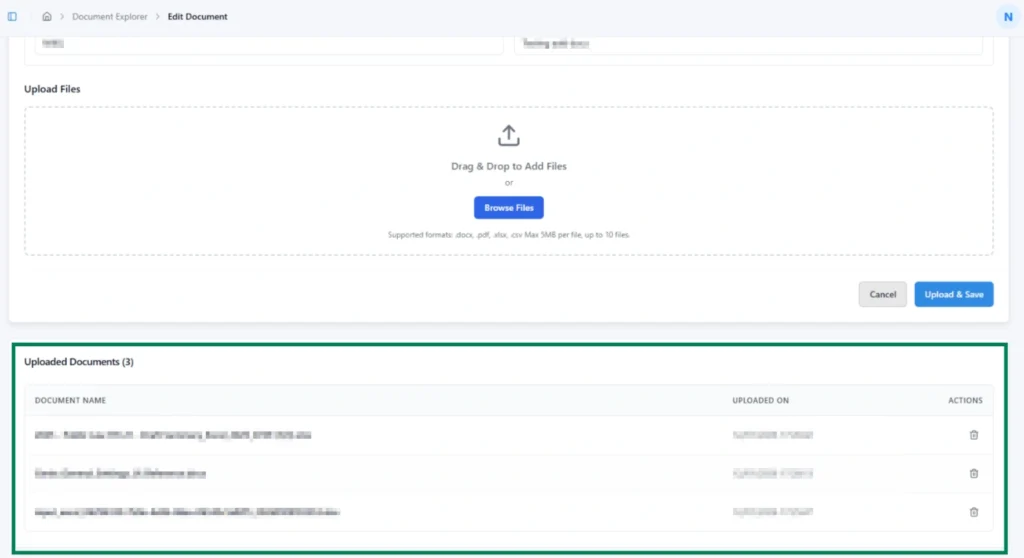
After uploading the file(s) from your local system, a list of the uploaded items will appear, allowing you to confirm which files should be added to the source. To select multiple files, hold down the Ctrl key while selecting. You can remove any unwanted file by clicking on the X icon next to it, as shown in the image below.
- When the Upload & Save button is clicked, the file(s) begin uploading.
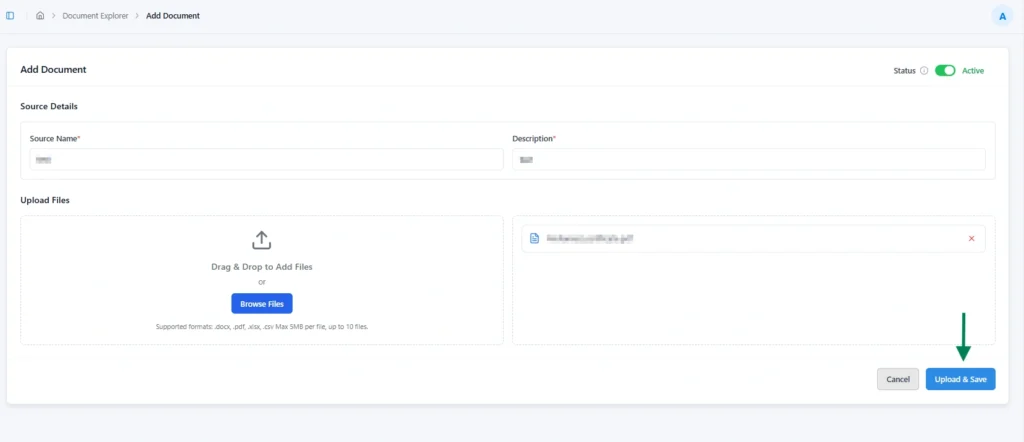
- Once the upload has started, the progress will be displayed at the top right corner, as shown in the image below. The upload time may vary depending on the file size and type.

- After the file(s) are successfully uploaded, they will appear in the list under the corresponding Source page.
Using the Uploaded Documents in Document Explorer
- To begin, open a new chat from the top-left corner of the interface. Then, navigate to the chat input field at the bottom of the screen, as illustrated in the image below.
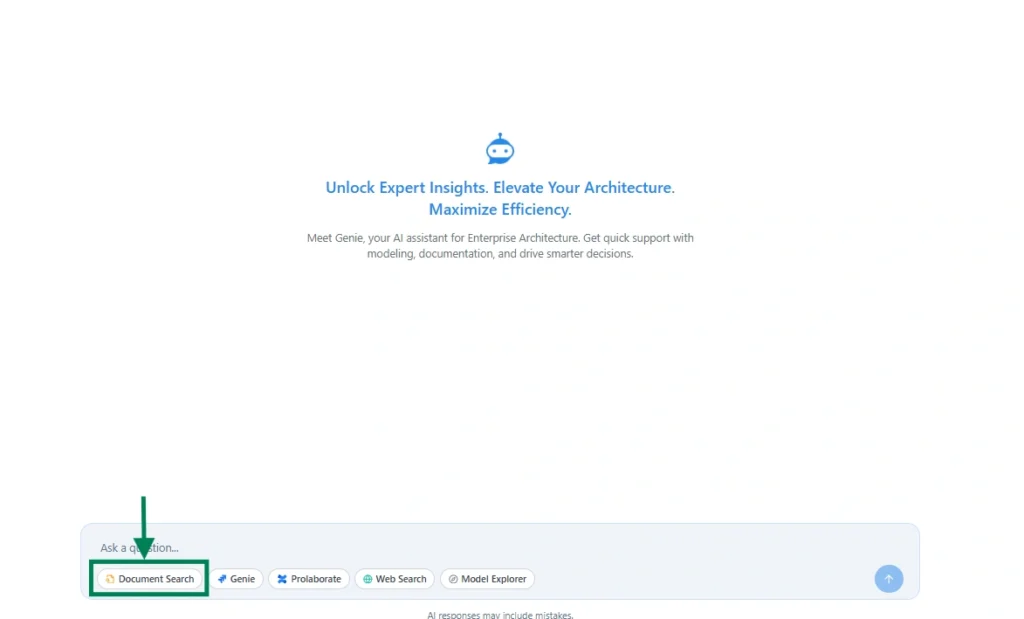
- The Document Search agent becomes available once a valid document has been added and is in an active state.
- If the Document Search agent is selected before entering a user’s query, Kernaro AI retrieves results only from the Document Explorer agent.

Subscribe to our Newsletter
Get product updates, feature tips, and integration insights in your inbox.


