How to Install and Configure EA GraphLink
Introduction
EA GraphLink leverages the flexibility of GraphQL to transform how users interact with Sparx Systems Enterprise Architect data. It allows architects to build reports through simple selections, eliminating the need to construct complex queries. This approach offers a streamlined and intuitive method for reporting, unlocking opportunities to demonstrate the value of data insights captured in Sparx Systems Enterprise Architect.
This guide outlines the steps for installing EA GraphLink on a server or local machine.
Server Specification
- Operating system: Windows 10 or higher / Windows Server 2019 or higher
- CPU: Dual-core processor (e.g., Intel Core i3 – i5)
- RAM: 4 GB – 8 GB
- Storage: 20-50 GB free disk space
- Network: Reliable internet connection with at least 100 Mbps bandwidth
Installation steps
Steps to Install EA GraphLink
- Download the installer, which is provided as a compressed ZIP file, and extract its contents.

- To initiate the installation, double-click the Setup file located in the extracted folder. Admin access must be granted by selecting “Yes” when prompted.
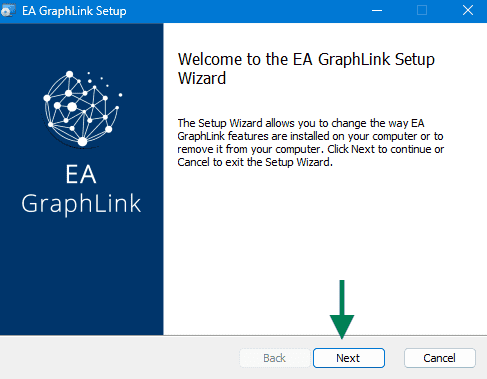
- A welcome window is displayed. Select Next to proceed.
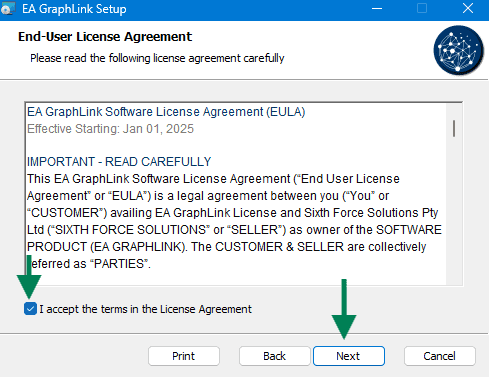
- Review the license agreement carefully. Accept the terms by checking the appropriate box, then select Next to continue.
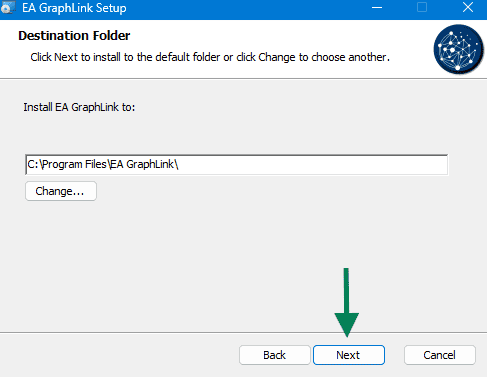
- A prompt appears to select a folder for installation. The default location can be used, or an alternative folder may be chosen by selecting Change. After finalizing the folder, click Next.
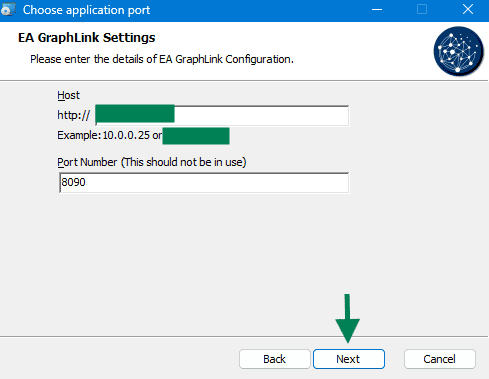
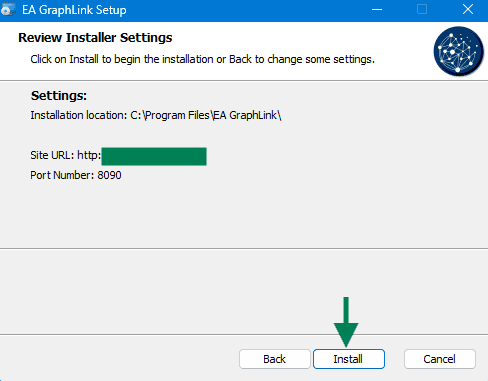
- Another prompt will appear to type a port for the application. It is essential to ensure that the entered port is open and available for use.
- After completing the previous steps, select Install to begin the installation process.
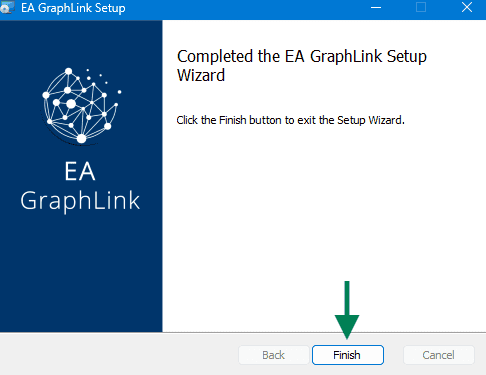
- Upon completion of the installation, select Finish to close the setup wizard.
Note :
For a cloud-based setup of EA GraphLink, the installation and configuration process will be managed entirely by our team. Contact kernaro@sparxsystems.com to arrange the setup of EA GraphLink in the cloud.
Launch EA GraphLink
After installation, access EA GraphLink in a browser by entering the domain specified during the installation process.
For example: http://localhost:8090/
Create New Password
Upon launching EA GraphLink, a prompt will appear to set a new password, as illustrated in the accompanying image.

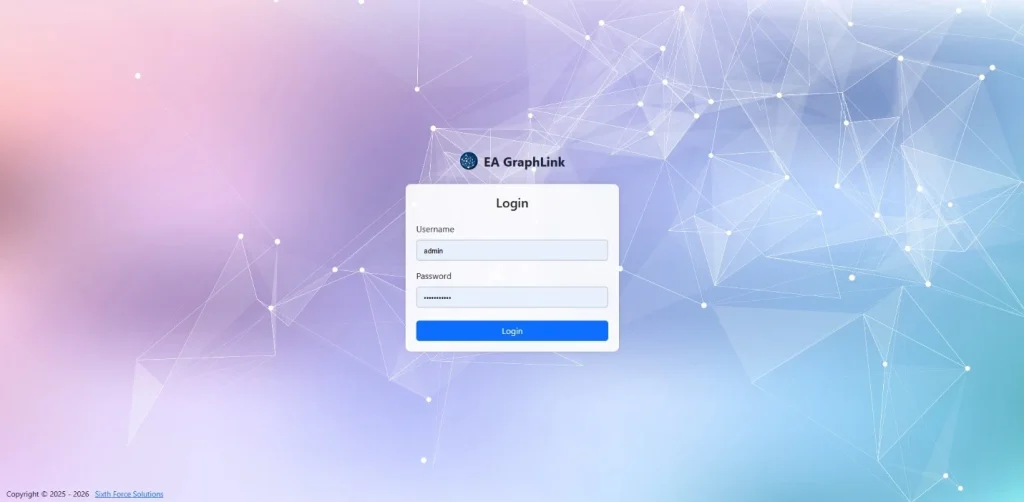
Once the new password is set, the login page is displayed. Enter the username “admin” along with the newly created password to log in successfully.
Activating the License
A Product Key Required prompt will appear, directing to the Licenses page, as shown in the accompanying image.
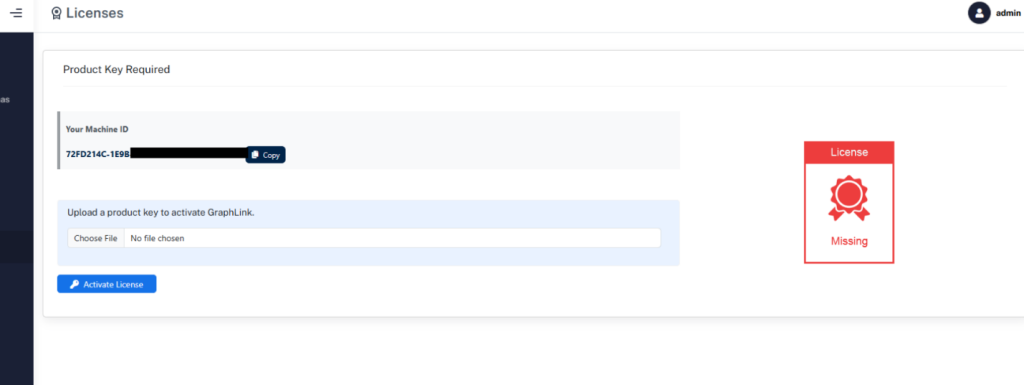
Send an email to the support team at support@eagraphlink.com, including the Machine ID displayed on the activation page. Upon receipt of the Machine ID, a license key will be issued to the sender.
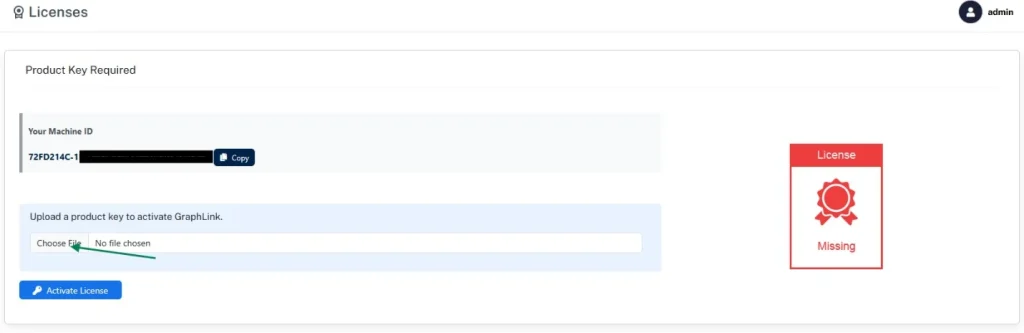
To activate the license:
- Click “Choose File” and upload the provided license key.
- Select Activate License to complete the activation process. Refer to the image for guidance on the interface during the activation process.

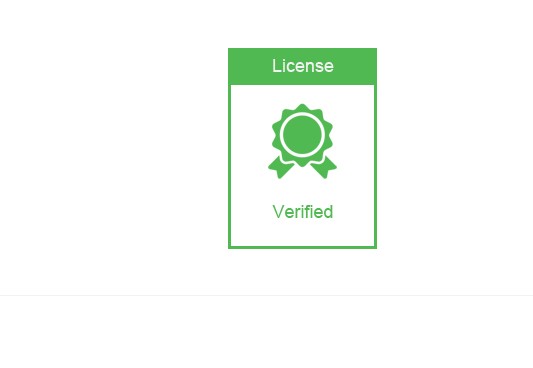
Upon successful activation, a verified badge is displayed, confirming the process completion.
Subscribe to our Newsletter
Get product updates, feature tips, and integration insights in your inbox.


